December 1, 2025
Which check types belong in a digital checklist?
A good digital checklist does more than ask questions. It helps prevent deviations, capture evidence, and continuously improve quality.
A digital checklist is not simply a paper form displayed on a tablet. It is a tool that helps you perform inspections more intelligently, record results immediately, and follow up on deviations faster.
The quality of a checklist depends largely on how its questions and controls are structured. A simple inspection may only require a yes/no question. Other situations may require a measurement, photo, scan, or signature.
By combining the right check types, you can turn a checklist into a complete digital process.
Start with the purpose of the inspection
Before building a checklist, determine exactly what you want to inspect and which information you need to capture.
Ask yourself:
- Do you only need to record whether something is compliant?
- Do you need to take a measurement?
- Should an explanation be required when a deviation is found?
- Do you need visual evidence?
- Does someone need to formally approve the inspection?
The answers determine which check types you need. A good checklist does not ask for more information than necessary, but it also does not leave out important details.
1. Yes/no checks for simple inspections
A yes/no check is suitable for inspections where you need to quickly record whether something meets the requirements.
Examples include:
- Is the machine clean?
- Is the safety guard in place?
- Is the packaging undamaged?
- Are all safety resources available?
This check type is easy to use, making it ideal for daily inspections on the work floor. You can also add conditions, such as requiring an explanation or photo when an employee selects “No”.
2. Numeric checks for measurements
Some inspections are based on a number, such as temperature, pressure, weight, dimensions, or noise level.
A numeric check allows you to record the measurement and define minimum and maximum limits. When a value falls outside the permitted range, it is immediately identified as a deviation.
This means employees do not have to determine manually whether a result is acceptable. The checklist supports them during the inspection itself.
3. Text checks for explanations and reports
A text check is useful when employees need to record additional information.
This could be a short entry, such as:
- Serial number
- Batch number
- Order number
- Location
It can also be used for a more detailed explanation, such as a maintenance report, incident description, or inspection result.
Text fields are flexible, but they should be used carefully. If every question uses free text, the information becomes harder to compare and analyze. Whenever possible, use a list check or numeric check instead.
4. List checks for standardized answers
A list check allows users to choose from predefined options. This is useful when there are only a limited number of possible answers.
Examples include:
- Type of deviation
- Installation status
- Type of maintenance
- Rejection reason
- Location or department
List checks create more consistent data. Everyone uses the same terminology, making reports clearer and trends easier to identify.
5. Scan checks for speed and traceability
A scan check allows employees to scan barcodes and QR codes. This makes it easy to identify a product, installation, location, order, or batch.
Scanning prevents manual entry and reduces the risk of mistakes. It also automatically records which asset or product the inspection relates to.
Scan checks are especially useful in production, logistics, service, and maintenance, where employees regularly work with different assets, products, or locations.
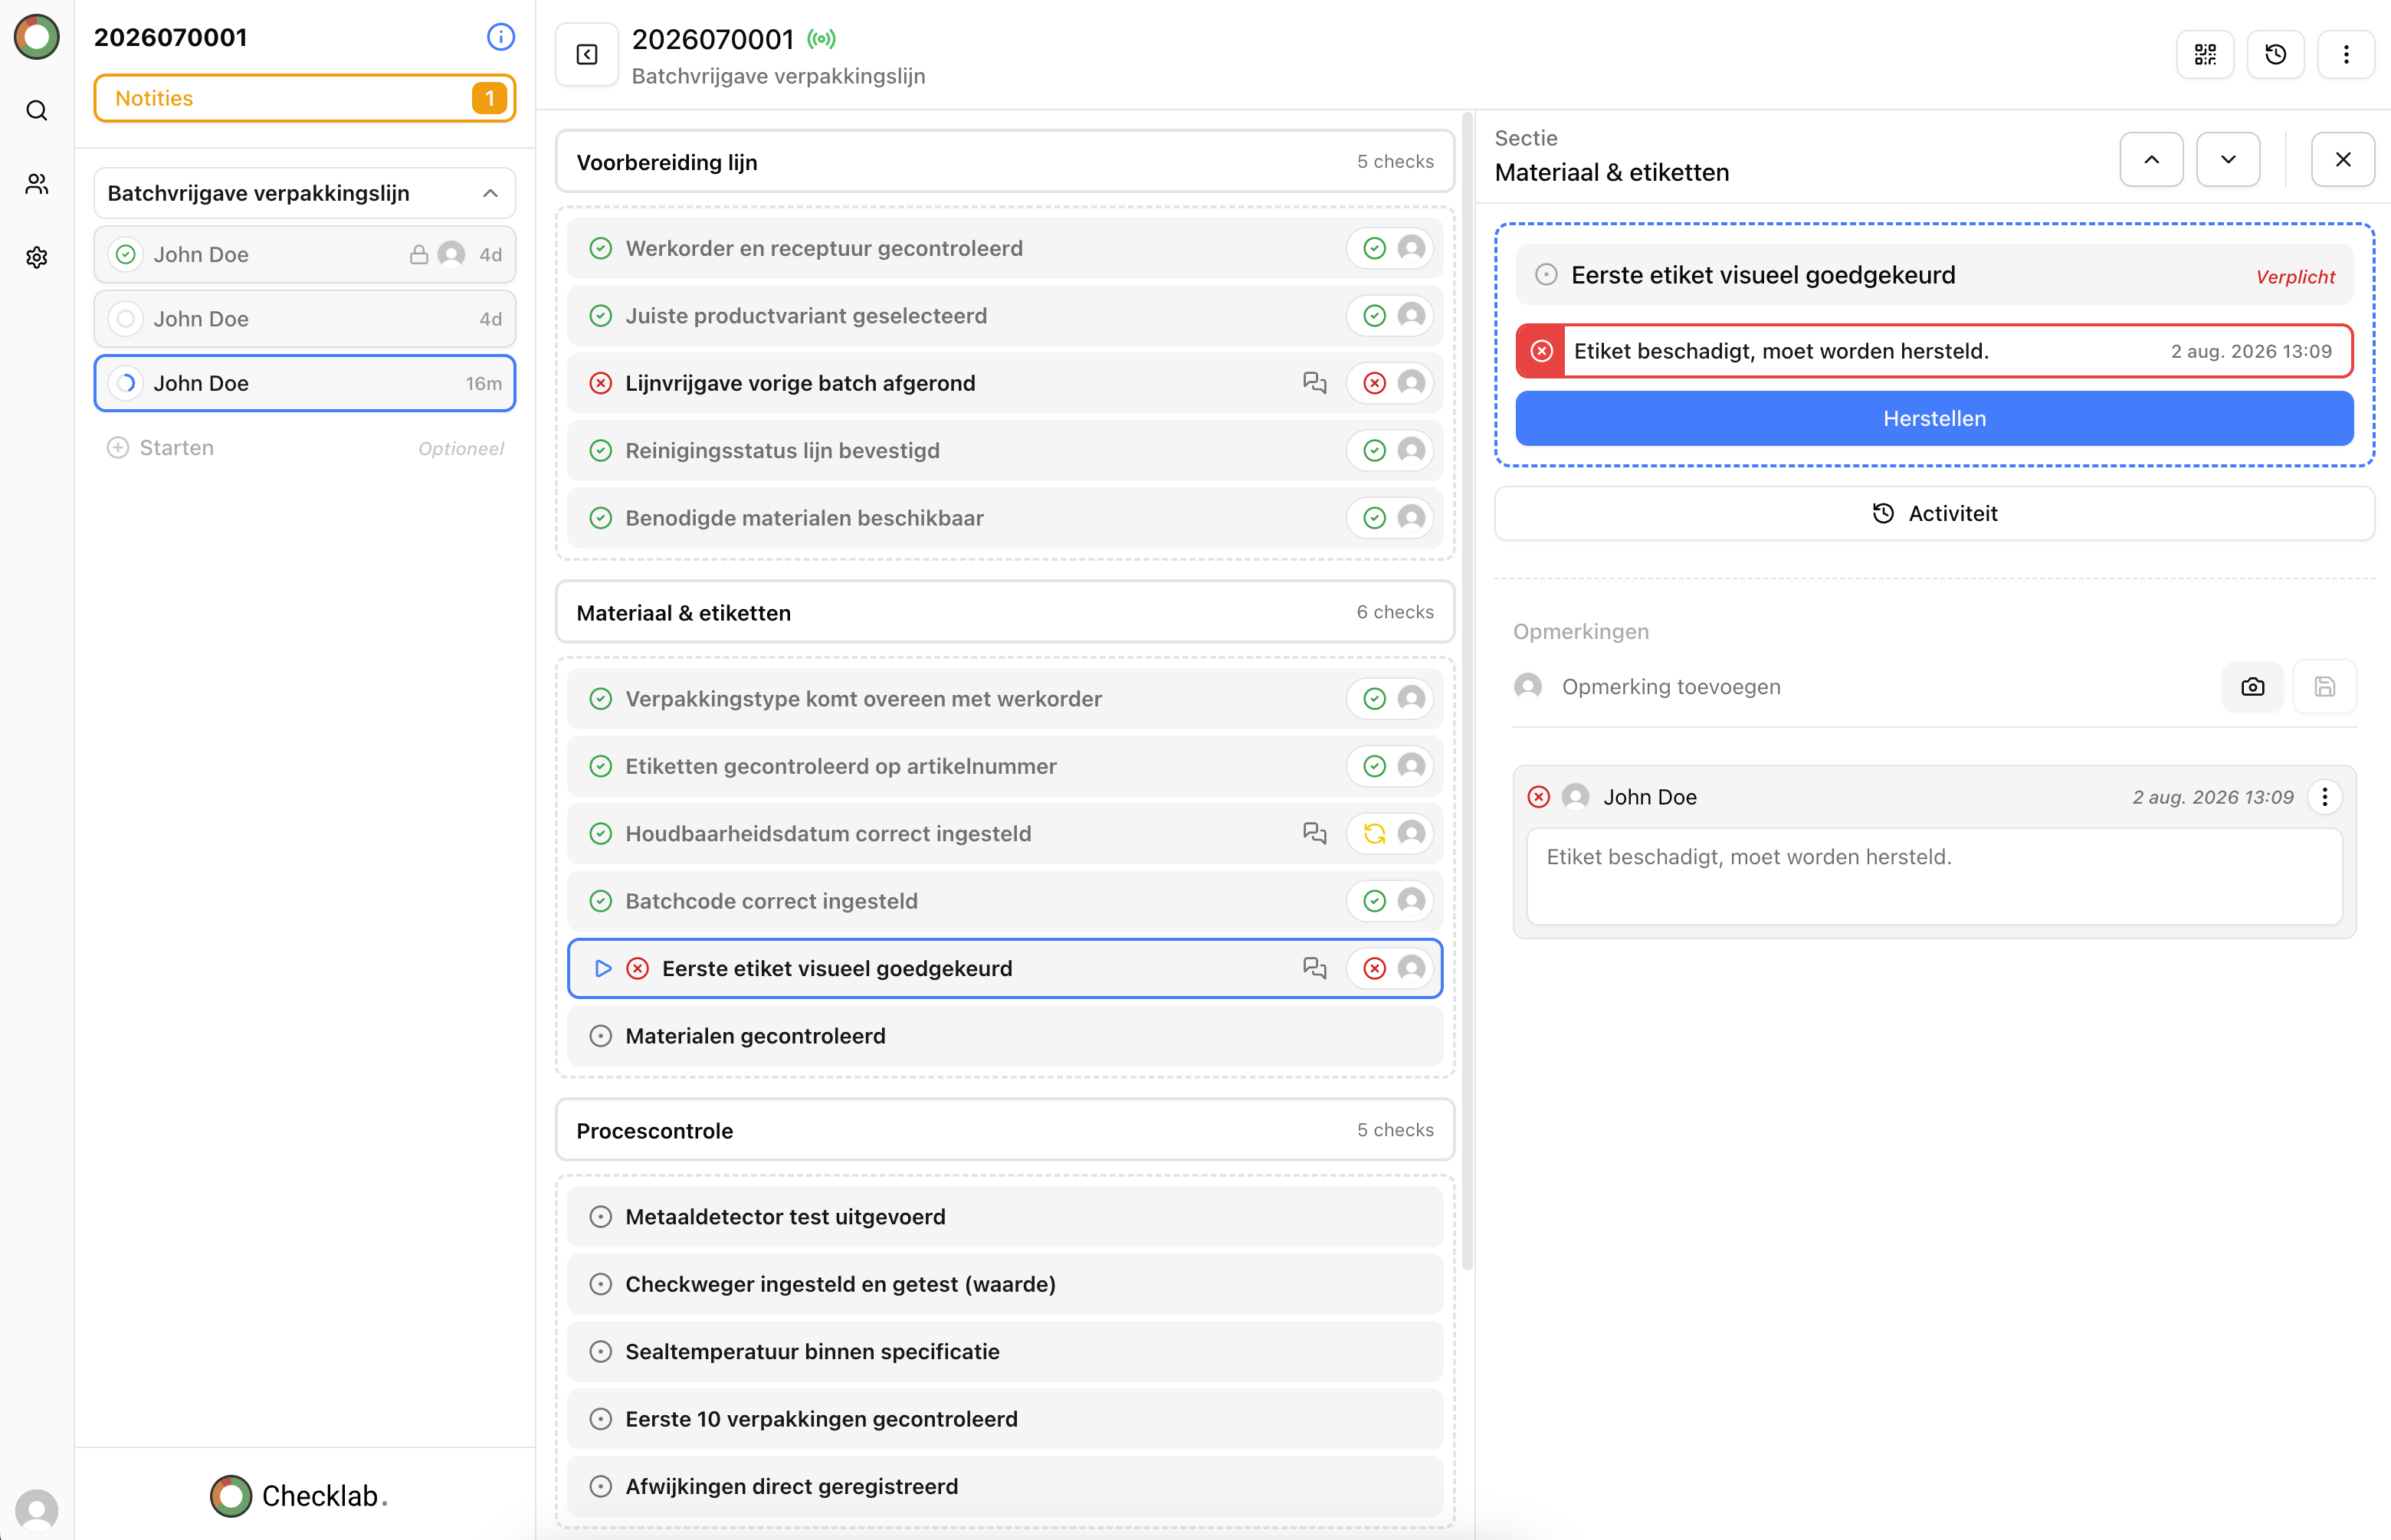
6. Approved, rejected, and corrective action checks
For quality inspections, it is often important to record more than simply “good” or “bad”. An approved, rejected, and corrective action check allows you to record the status of a product, process, or component.
When an item is rejected, you can:
- Select a rejection reason.
- Add an explanation.
- Upload a photo.
- Create an action.
- Assign responsibility.
A checklist can be configured so it cannot be completed while a deviation remains unresolved. This keeps problems visible and ensures they are properly followed up.
7. Photo checks for visual evidence
A photo often communicates more than a written description. A photo check allows you to add visual evidence to an inspection.
Photos can be used for:
- Damage
- Unsafe situations
- Product quality
- Installations
- Deviations
- On-site work
You can decide whether a photo is required and how many photos must be added. This ensures that employees capture evidence consistently.
8. Signature checks for approval
A signature check is useful when an inspection, release, or task requires formal approval.
This may be needed for:
- Product releases
- Handover inspections
- Maintenance work
- Customer approvals
- Audit inspections
A digital signature makes it clear who performed or approved the inspection. This improves traceability and prevents confusion later.
The best checklist combines multiple check types
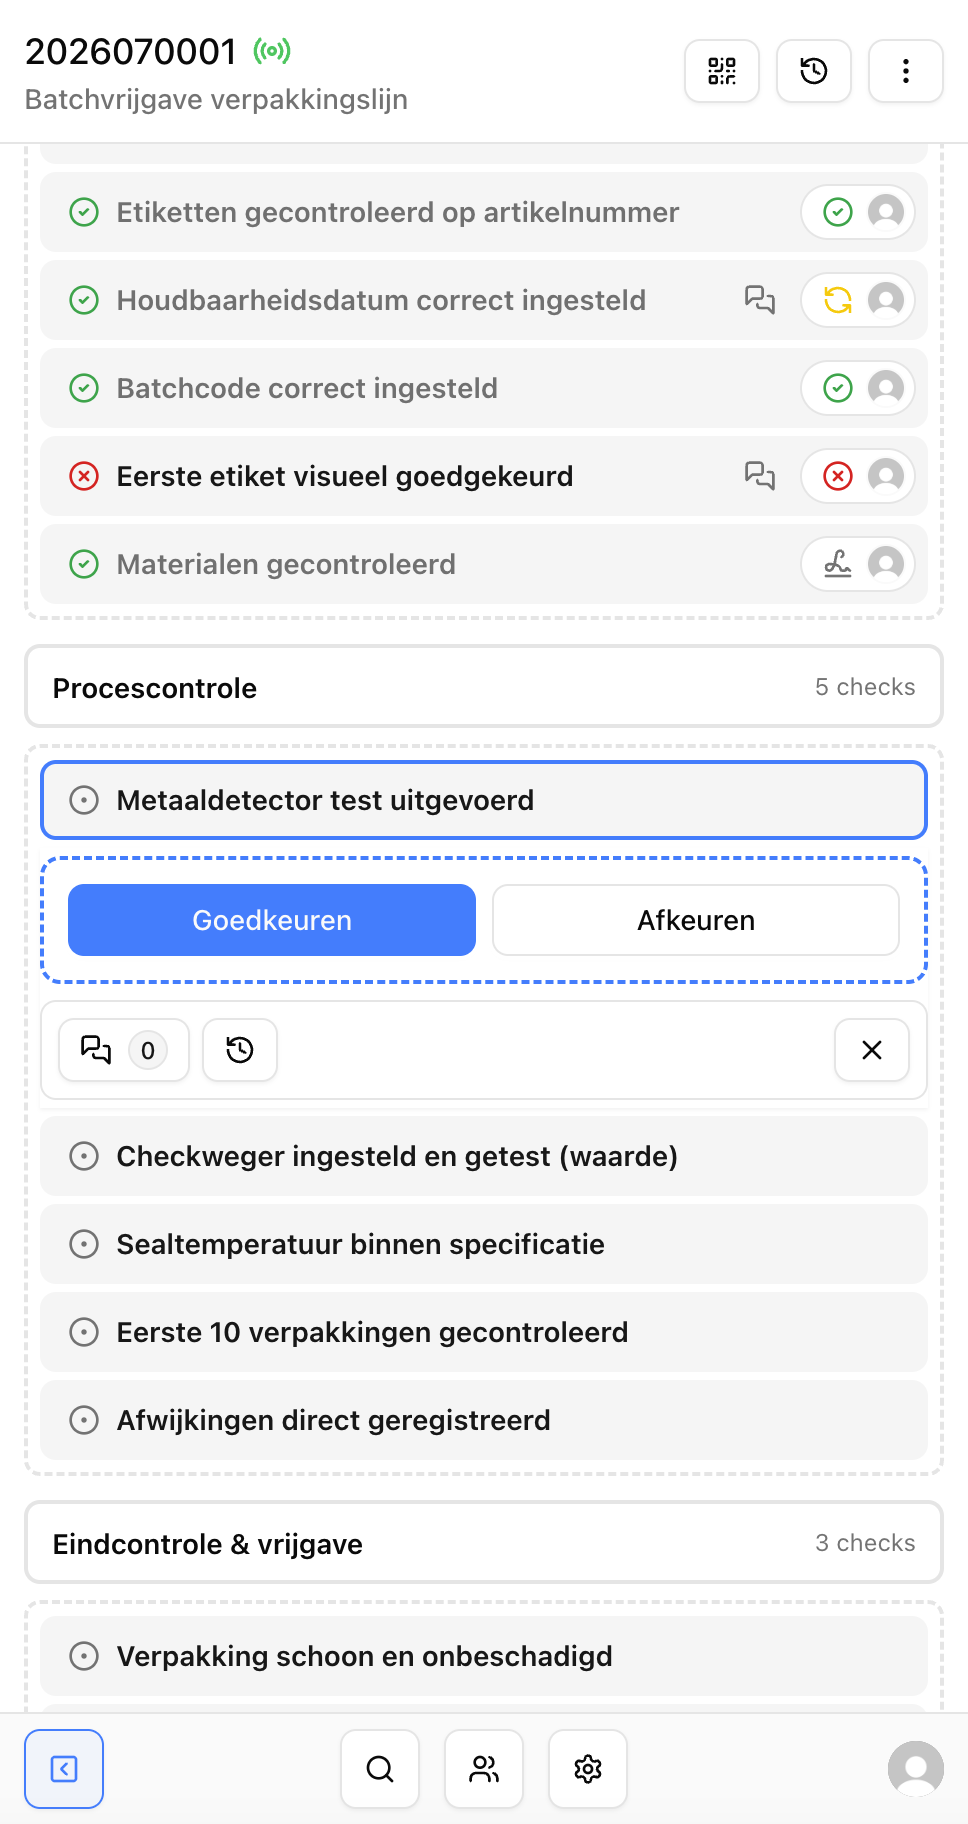
A complete process often consists of several types of checks. For example, an employee may first scan a QR code, then record a temperature, add a photo if a deviation is found, and finally sign off on the inspection.
The entire process can be captured in one digital checklist.
The result:
- Less duplicate registration.
- Fewer manual errors.
- More complete inspection data.
- Faster follow-up of deviations.
- Better reporting and traceability.
Conclusion
A digital checklist becomes truly valuable when every part supports the purpose of the inspection.
Use yes/no checks for simple observations, numeric checks for measurements, list checks for standardized answers, and photo or signature checks when evidence or approval is required.
With Checklab, you can combine these check types in one clear process. This makes inspections easier for employees and gives your organization better insight into quality, safety, and continuous improvement.